What temperatures do brake calipers actually reach?
Brake calipers heat up through two mechanisms: conducted heat from the brake pads and rotors, and radiated heat from the friction surface. Here are real-world temperature ranges:
Normal street driving: 100-200 deg C — most standard paints survive here temporarily but will discolor and lose adhesion over repeated cycles.
Spirited driving / mountain descent: 250-400 deg C — standard spray paint fails within minutes. Alkyd and acrylic enamels soften, bubble, and peel from the metal surface.
Track day / racing: 400-600 deg C — even entry-level high-temperature paints rated at 500F (260 deg C) fail catastrophically. Only silicone-based or ceramic-modified formulations survive.
Professional racing (endurance, F1): 600-800 deg C — requires specialized ceramic-based coatings. Most aerosol products are not rated for this range.
Key insight for OEM buyers: sell caliper paint rated for 500-800 deg C. Anything rated below 300 deg C is not a caliper paint regardless of what the label says on the can. Check the continuous temperature rating, not the peak or intermittent rating.
What chemistry makes a spray paint survive on brake calipers?
Three chemistry types are used in caliper paints, each with different performance levels:
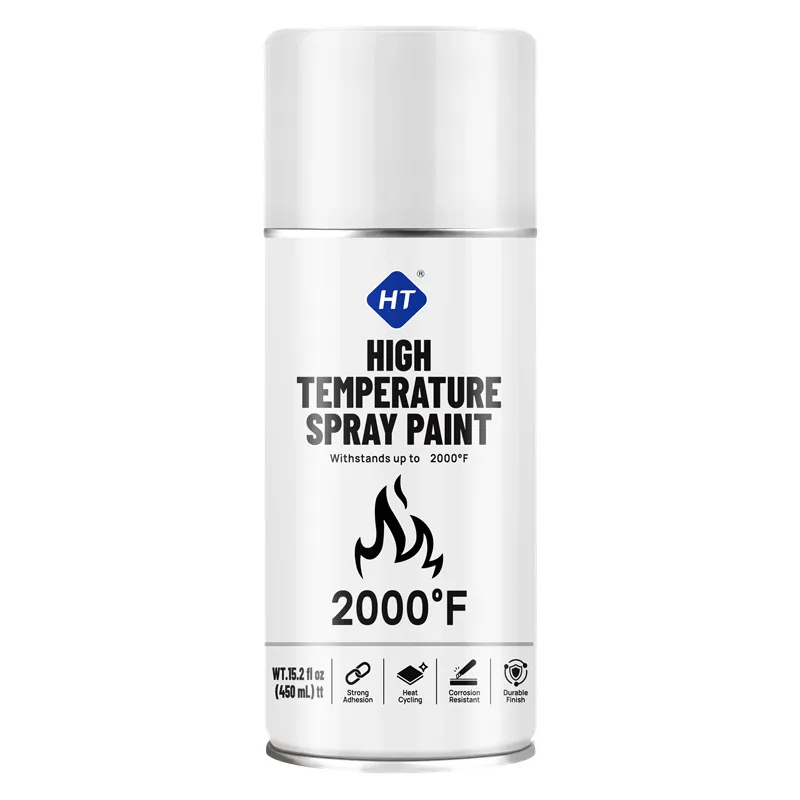
Silicone resin-based (500-650 deg C): The most common high-temperature caliper paint. Silicone resins form a crosslinked network that resists thermal degradation up to about 600 deg C. Advantages: good color stability, reasonable cost, cures at room temperature. Disadvantages: softer film than ceramic, can be scratched by rock debris. Huotian's HT-001 uses a silicone-modified acrylic formulation rated at 600 deg C.
Ceramic-modified (650-800 deg C): Ceramic particles (alumina, silica) are dispersed in a silicone resin matrix. The ceramic content provides additional hardness and thermal stability. Advantages: harder finish, better abrasion resistance, slightly higher temperature limit. Disadvantages: more expensive, some formulations require heat curing for full properties. Available in limited colors (red, black, silver, blue most common).
Epoxy-silicone hybrid (400-500 deg C): Budget option combining low-cost epoxy with silicone resin for moderate temperature resistance. Adequate for everyday street vehicles but not for performance applications. Lower price point, wider color range available.
For B2B buyers: silicone resin-based is the sweet spot for 90% of the market. It provides real 500-650 deg C protection at a price point end users are willing to pay. Only spec ceramic-modified for a premium racing-oriented product line.
How do you prepare and apply caliper paint for a professional finish?
Caliper painting follows the same principle as any high-performance coating application: preparation is 70% of the result.
Step 1 — Cleaning: Brake calipers accumulate brake dust, grease, and road grime. Use a dedicated brake cleaner spray (like HT-014 Carb & Choke Cleaner or a chlorinated brake cleaner) to degrease thoroughly. Do not use household degreasers — they leave residue that prevents adhesion.
Step 2 — Mechanical preparation: Sand the caliper surface with 120-180 grit to create mechanical adhesion for the paint. Pay special attention to rust spots and pitted areas. If the caliper has heavy rust, use a wire brush attachment on a drill.
Step 3 — Masking: Mask off brake lines, bleed screws, piston boots, and the rotor surface. Caliper paint on the rotor friction surface causes brake judder. Use high-temperature masking tape (rated to 150 deg C).
Step 4 — Primer: Optional but recommended. A high-temperature primer improves adhesion and corrosion resistance. Standard automotive primer is NOT suitable — it will fail at caliper temperatures. Use a primer rated for the same temperature as the topcoat.
Step 5 — Paint application: Apply 2-3 thin coats rather than one thick coat. Hold the can 15-20 cm from the surface. Allow 10-15 minutes between coats. Thin coats cure more evenly and resist thermal cycling better than thick coats.
Step 6 — Curing: Allow at least 24 hours at room temperature before driving. The paint achieves full temperature resistance after 5-7 days of complete cure or after several heat cycles from normal driving. Do not take a freshly painted caliper on a track day — the paint needs time to crosslink fully.
What should B2B buyers look for in a caliper paint supplier?
Key supplier evaluation criteria when sourcing caliper paint for your brand:
Temperature certification: Request the actual test report — not just the printed can rating. A proper test involves heating painted metal coupons to the rated temperature for a specified duration (e.g., 100 hours at 600 deg C) and measuring color change (Delta-E), adhesion (crosshatch), and gloss retention. Accept nothing less than a third-party or in-house lab report with photos.
Color range and stability: Caliper paint needs excellent pigment stability at temperature. Request accelerated aging photos: before and after 100 hours at rated temperature, side by side. Color shift of more than Delta-E 5 is unacceptable. Common stable colors: red (iron oxide pigment), black (carbon black), silver (aluminum flake), blue (cobalt aluminate).
Packaging format: Caliper paint sells best in 400ml cans. DIY consumers expect one can to cover all four calipers with two coats. A 400ml can with 150-200ml net paint volume achieves this. Smaller cans (200-300ml) leave the user short and generate complaints.
Application viscosity: A caliper paint that is too thin runs and sags on vertical caliper surfaces. Too thick and it produces orange peel. The ideal viscosity allows a wet coat on a vertical surface without sagging — typically 20-25 seconds Ford Cup 4 at 25 deg C.
Shelf appeal: Caliper paint is a high-margin retail product. Metallic can finish (silver or gunmetal), racing-inspired graphics, and a clear statement of the continuous temperature rating are essential for retail shelf appeal.