How do you assess a rusty tool before starting restoration?
Not every rusty tool is worth restoring — assess before you invest time:
1. Value and function: Is the tool valuable (vintage brands like Stanley, Disston, old wrenches) or just a functional user? Valuable tools justify careful restoration; beater tools can take faster methods. Check collector value before aggressive cleaning — some patina and markings are worth preserving.
2. Rust severity:
- Light surface rust (red dust, no pitting): easy — chemical remover or light abrasive.
- Moderate rust (rough surface, light pitting): chemical removal + light sanding.
- Heavy rust / scale (thick flakes, deep pitting): mechanical removal + chemical treatment; may need electrolysis for best results.
- Structural damage (deep pitting through the metal, cracks): consider replacing the tool — no restoration fixes lost metal.
3. Moving parts: Tools with joints (pliers, scissors, calipers) need rust removed from moving surfaces or they stay stiff. Disassemble what you can.
4. Markings: Preserve maker's marks, sizes, and stamps — they carry the tool's value. Avoid aggressive grinding on marked surfaces.
5. What you are protecting: The final step is protection (oil, wax, or paint) — the tool will re-rust within days without it. Budget time for all three phases: clean, de-rust, protect.
What are the de-rusting methods, and which should you use?
Four main de-rusting approaches, from gentlest to most aggressive:
1. Electrolysis (gentlest, best for valuable tools): Submerges the tool in a water + washing soda solution with a sacrificial anode and low-voltage current. The current removes rust without removing metal or patina. Slow (hours-overnight) but preserves detail, stamps, and edge hardness. Ideal for vintage tools and planes.
2. Chemical rust removers (dissolvers): Acid-based liquids (phosphoric, citric, oxalic) dissolve rust. Fast (30 min to a few hours), thorough, gets into pits. Must be neutralized/rinsed, and the tool must be oiled immediately. Works well on most tools but can darken metal; avoid on some delicate finishes.
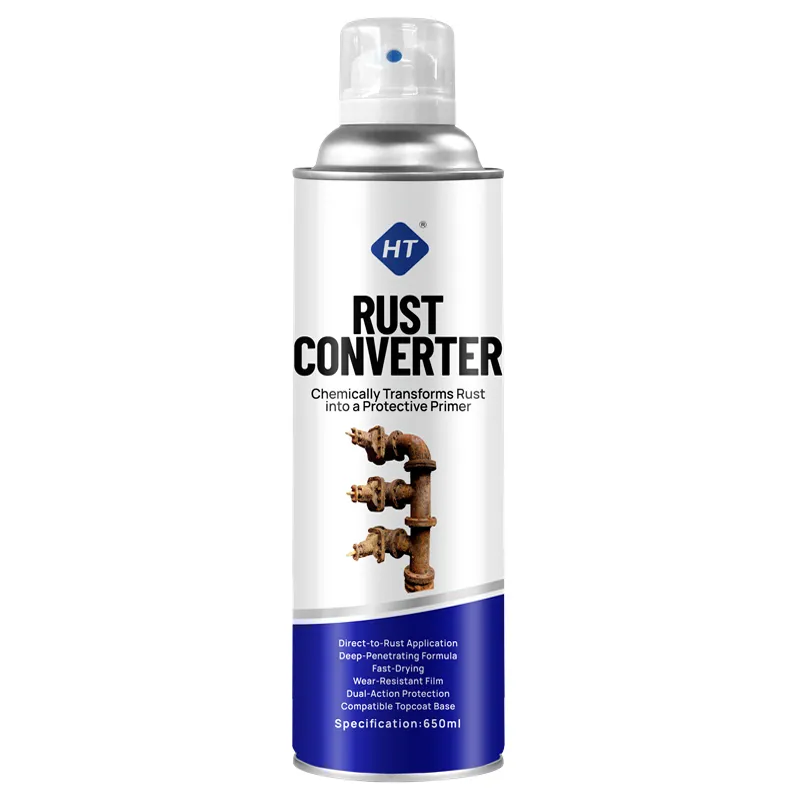
3. Rust converters: Convert surface rust to a stable black layer. Good for tools you will PAINT (converted layer is paintable) or light-rust functional tools. Not for polished or bare-metal finishes — the black layer is a finish in itself.
4. Mechanical (wire brush, sandpaper, abrasive wheels): Fast for heavy rust but removes metal and can scratch stamps. Use only on beater tools or as a first pass before chemical treatment. Avoid power wire wheels on vintage marked tools.
Recommended workflow for most tools:
- Disassemble, clean off grease.
- Chemical soak (or electrolysis for vintage) to remove rust.
- Rinse, dry immediately, neutralize if needed.
- Light sanding/polishing for the finish you want (600-1000+ grit for shine).
- Protect immediately (below).
How do you protect restored tools from future rust?
Protection is the step most people skip — and why tools re-rust in days. Options by tool use:
1. Oil (best for working tools): A light machine oil or 3-in-1 on a cloth, wiped over the metal. Protects against moisture and lubricates moving parts. Reapply after use. For long-term storage, a thicker rust-preventive oil or grease.
2. Wax (best for display/valuable tools): Paste wax (carnauba or furniture wax) buffed over the metal. Dries to a protective film that is not greasy. Great for restored vintage tools on display or in tool chests.
3. Rust-preventive sprays: Anti-rust lubricants (like Huotian's HT-640 Multi-Purpose Anti-Rust Lubricant) create a thin protective film and creep into joints. Ideal for storage and seasonal tools.
4. Paint (for beater/user tools): Painted handles and bodies protect the metal and identify the tool. Use enamel after proper prep — paint the non-working surfaces (handles, jaws' outer faces) and keep working edges bare. Paint can hide future rust, so combine with oiling on working surfaces.
5. Storage environment: The real enemy is humidity. Store tools in a dry place, in a toolbox with silica gel or a dehumidifier in workshops. A lightly oiled tool in a dry drawer stays rust-free for years.
Maintenance habit: wipe tools with an oily rag after use — 30 seconds of habit prevents the whole restoration cycle.
How do you restore specific tools: planes, chisels, and wrenches?
Common restoration targets, handled differently:
1. Hand planes: Disassemble fully (body, lever cap, blade, chipbreaker). Electrolysis or chemical soak for the body, then fine sanding or polishing. The sole (bottom) should be flattened on abrasive paper on a flat surface — a flat sole is the plane's function. Sharpen the blade on stones. Wax the body, oil the working parts. Reassemble and set up the iron.
2. Chisels and blades: Focus on the edge — sharpening is the core of the restore. De-rust the blade (chemical soak is safest for bevel edges), then sharpen on stones (coarse to fine). Wooden handles: sand, and finish with oil or shellac. Protect the bare steel with a light oil film.
3. Wrenches and pliers: Disassemble pliers if possible. Chemical soak, then wire brush/sand to the finish you want. Oil the joint so it moves freely. For wrenches, keep the jaw faces and markings clean; a light coat of oil protects.
4. Scissors/shears: Rust on the blades ruins cutting. Chemical soak, then sharpen on a stone (or take to a pro). Oil the pivot. Test on scrap material.
5. Screwdrivers: Clean and de-rust the shaft; the handle usually just needs a good wash. Sand the tip if burred. Oil the shaft.
Golden rule: never grind a cutting edge or stamp area with power tools unless you know exactly what you are doing — hand methods preserve value.
What should B2B buyers know about the tool restoration market?
Tool restoration is a passionate niche with real retail demand:
1. Market segments: Vintage tool collectors and restorers (planes, old brands), woodworkers and mechanics restoring inherited/user tools, flippers buying garage-sale tools to resell, and professionals maintaining their everyday tools. Social media (restoration videos) has driven strong growth in this hobby.
2. SKU strategy: Stock the full workflow — rust remover (dissolver), rust converter, electrolysis starter supplies (washing soda, anodes), fine sandpaper/abrasives, paste wax, anti-rust lubricant, and enamel for painted tools. A 'restoration kit' bundles the essentials.
3. The trust factor: Restoration buyers are detail-oriented and technical — they read labels and compare chemistry. Sell documented products (acid type, safety data, application guidance) and honest claims.
4. Cross-sell: Restoration leads naturally to sharpening stones, handles, brushes, and storage solutions. Position the rust-treatment line next to tool accessories.
5. Compliance: Confirm VOC compliance and proper labeling for chemical rust removers. Huotian's line — rust converters, anti-rust lubricants (HT-640), and corrosion protection products — serves the restoration workflow with documented performance for both hobbyists and professionals.