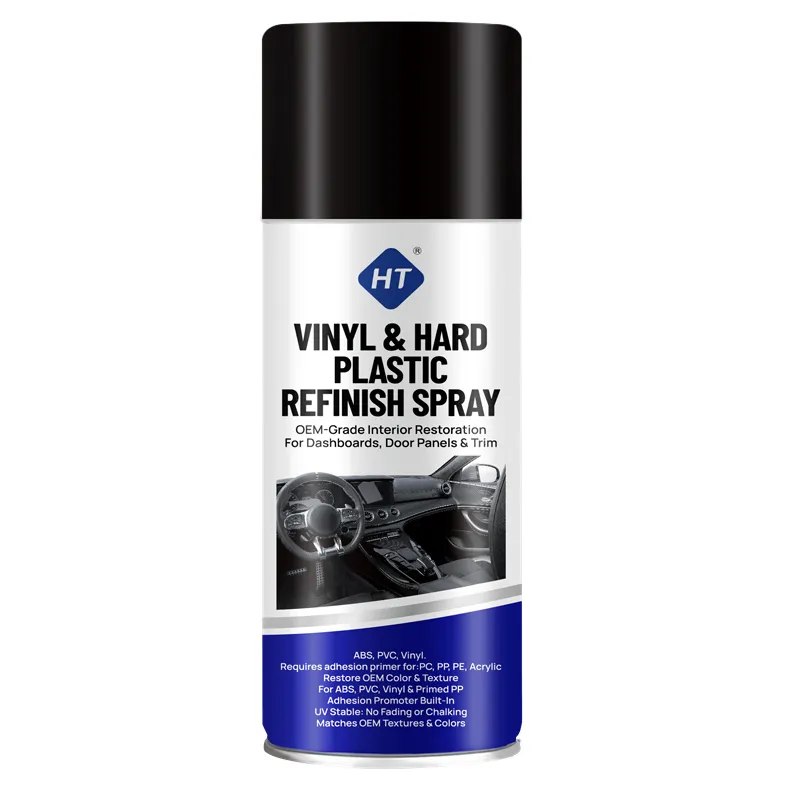
How do you know whether a bumper can be repainted at home?
Look at the damage before the paint. A scuffed corner from a parking knock, kerb rash along the lower lip, a sun-faded grey valance, or clear coat peeling off an older cover are all paint-level problems. A crack through the cover, a torn mounting tab, or a crease with a hard line through it are structural. Those need plastic welding or a replacement cover first. Paint over a crack and it reopens in weeks, straight through the new finish.
Why does the plastic type decide the whole job?
Because adhesion lives or dies on it. Most modern bumper covers are PP or PP+EPDM (TPO), which has very low surface energy and rejects paint unless the surface is promoted. Older covers and many hard trim parts are ABS or PC/ABS, which take paint far more easily. The clue is mold-stamped into the back of the part: PP, PP-T20, ABS or PC/ABS. If there is no marking, paint a small patch in a hidden area, let it cure, and try to peel it with tape before committing to the whole cover.
What prep does a plastic bumper need?
Wash, degrease, abrade, degrease again:
- Wash with car shampoo, then strip tar and traffic film. Brake dust and silicone dressings are the two things that ruin bumper paint jobs.
- Keep silicone tyre dressing away from the work area. Silicone migrates and leaves fisheyes that no extra coat fills in.
- Sand scuffs out with P600-P800 on a flexible pad. A hard block on a soft bumper flattens the contours and leaves flat spots.
- Finish with a wax-and-grease remover and handle the part with clean gloves. Finger grease shows up as a dull patch under fresh paint.
Where does HT-016 come in?
HT-016 is a refinish spray with the adhesion promoter built into the formula, so on ABS, PVC and vinyl no separate primer is needed. It restores OEM colour and texture with UV-stable pigments, and the film stays flexible enough to move with a contoured cover instead of cracking along the flex line. On a hard plastic cover or a painted trim part it is the colour coat. On bare PP or TPO it is only half the job: promote or prime the surface first, because HT-016 is specified for primed PP and PE, not raw polyolefin.
How many coats, and on what schedule?
Two or three light to medium coats with 10-15 minutes of flash between them, at 15-30 C and out of direct sun. Keep passes light at the flex points and along the edges. One heavy wet coat on a flexible part is how hairline cracks start. Let the film touch dry, then leave it 24 hours before refitting the cover or flexing the corners. Do not reach for a heat gun to speed it up; heat blisters a film that is still releasing solvent.
Why do home bumper repairs peel or crack weeks later?
Four causes, in order of frequency:
- No promoter on a TPO cover. The paint looks perfect for a month, then releases in sheets from the edges inward.
- Contamination: silicone, tyre dressing, wax or oil left on the surface or drifting in from the next bay.
- The wrong film. A rigid metallic lacquer on a flexible cover cracks along the flex line even when adhesion is good.
- A loose edge left under the new paint. If old clear coat has started to lift, it has to be feathered back or removed, because the new layer lifts with it.
What should be masked, and when is a shop the better answer?
Mask parking sensors, chrome trim, grille mesh and rubber seals before spraying. A coated parking sensor can stop working, and paint that bleeds onto mesh cannot be undone. A body shop is the better call for a cracked or torn cover, a deep crease, a three-layer pearl that has to match exactly where the bumper meets the wing, or a leased car. For scuffs, faded texture and kerb rash on a hard plastic cover, an afternoon with HT-016 costs a fraction of a shop quote.